Knowing how to create an invoice is a foundational business skill that directly impacts how quickly you get paid. Whether you’re a freelance developer sending your first bill, a consultant wrapping up a retainer month, or a small business owner invoicing for products, a well-structured invoice removes friction between “work delivered” and “payment received.”
Yet a surprising number of freelancers and small business owners still wing it — copying a generic template, forgetting key details, or skipping payment terms entirely. The result? Delayed payments, confused clients, and invoices stuck in accounting limbo.
This guide walks you through every element of a professional invoice, shows you how to create one from scratch, and shares the tools and templates that make the process effortless.
What Is an Invoice and Why Does It Matter?
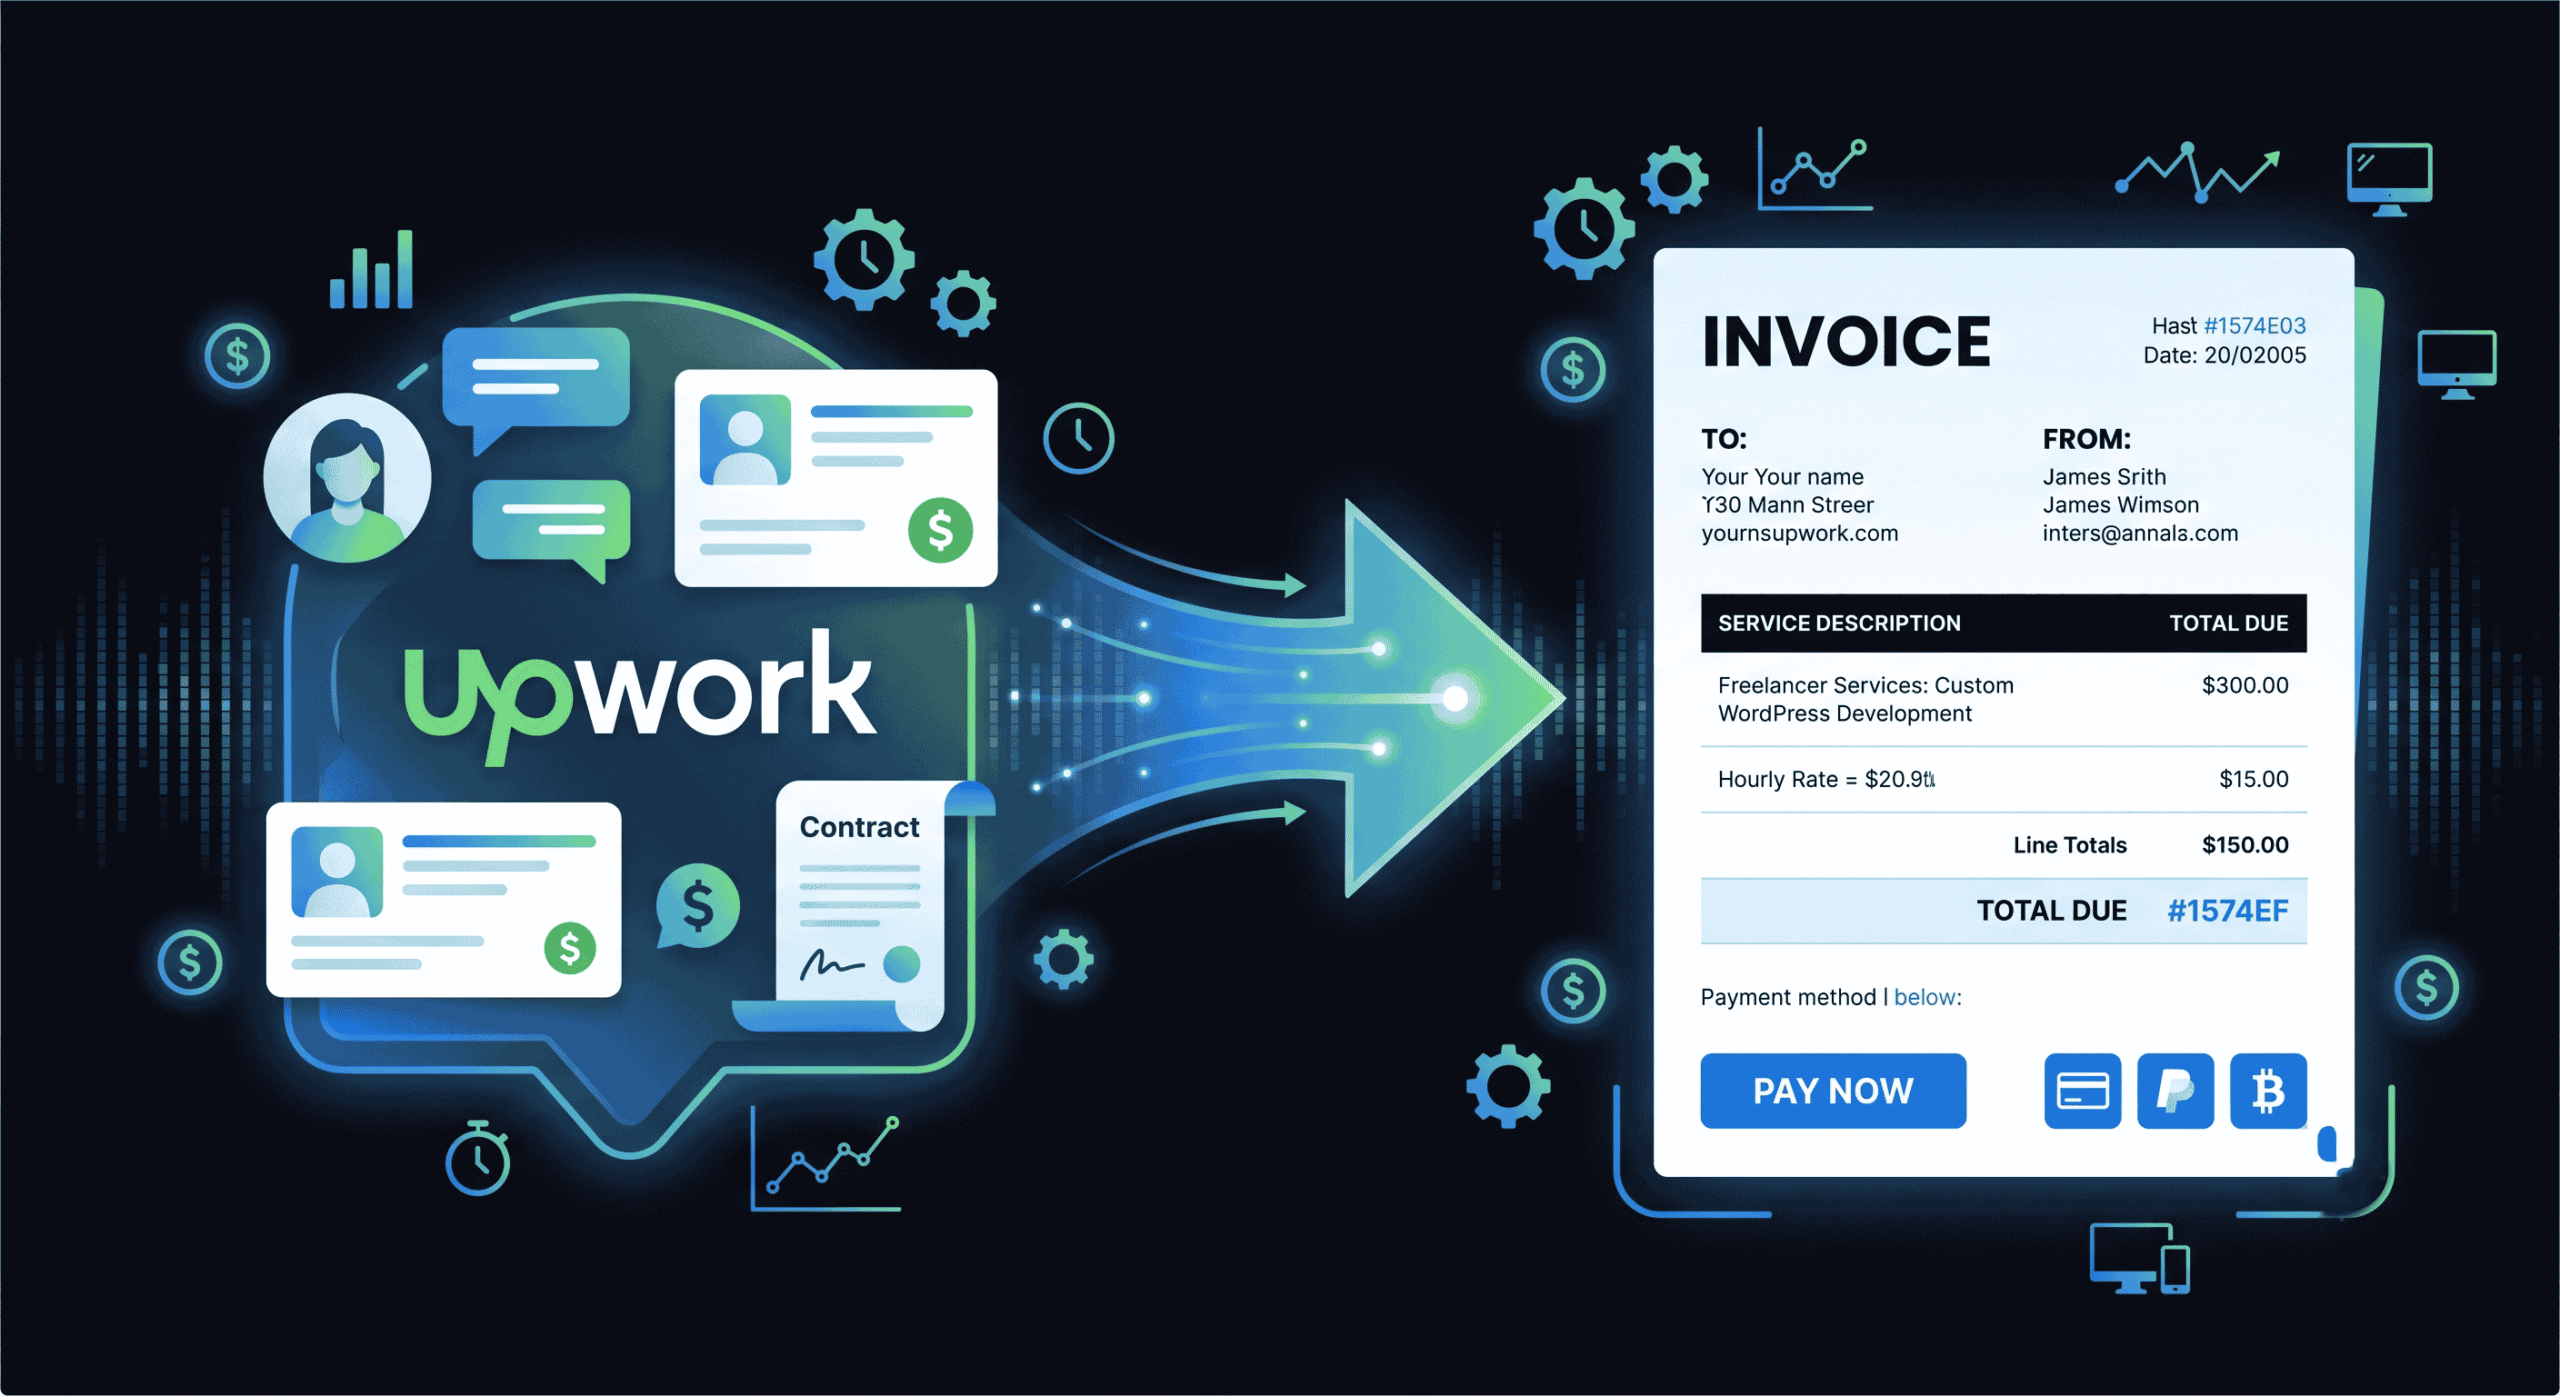
An invoice is a formal document sent from a seller to a buyer requesting payment for goods or services provided. It serves three critical functions in your freelance or small business operation:
- Payment request: It formally communicates what the client owes, when payment is due, and how to pay. Without an invoice, there’s no documented trigger for the client’s accounts payable process to release funds.
- Legal record: An invoice serves as a legal document that can be referenced in case of payment disputes. It establishes the terms both parties agreed to and provides evidence of the transaction.
- Tax documentation: Every invoice you send becomes part of your financial records for tax purposes. Properly documented invoices make tax filing significantly easier and protect you during audits.
Beyond these functional roles, your invoice is also a touchpoint with your client. A clean, professional invoice reinforces your credibility. A messy, incomplete one signals disorganization — and gives clients an easy excuse to delay payment.
What to Include on Every Invoice (Complete Checklist)
Before you create your first invoice, make sure you understand the essential elements. Missing any of these can delay payment or create compliance issues. Here’s the complete checklist of what every professional invoice must include:
1. Your Business Information
Include your full business name (or your name if you’re a sole proprietor), business address, phone number, and email. If you have a registered business number, tax ID, or VAT number, include it here. This is typically placed in the header or top-right corner of the invoice.
2. Client’s Information
The client’s full name (or company name), billing address, and contact email. This should match the information in your contract or agreement. Incorrect client details are one of the top reasons invoices get stuck in internal routing at larger companies.
3. Unique Invoice Number
Every invoice needs a unique identifier for tracking and reference. Use a consistent invoice numbering system like INV-2026-001 or CLIENT-001. Sequential numbering helps with organization, tax filing, and is legally required in many jurisdictions.
4. Invoice Date and Due Date
The invoice date is when you’re issuing the invoice. The due date is when payment is expected. Common freelance payment terms include Net 15 (due in 15 days), Net 30 (due in 30 days), or Due on Receipt. Shorter payment windows generally result in faster payments.
5. Itemized List of Services or Products
This is the core of your invoice. Each line item should include a clear description of the service or product, the quantity (hours, units, or a flat rate), the rate per unit, and the total for that line item.
Be specific. Instead of writing “Web Development,” write “Frontend Development — Product Landing Page (12 hours @ $95/hr).” Specificity reduces client questions and speeds up payment approval.
6. Subtotal, Taxes, and Total
Show the subtotal (sum of all line items), any applicable taxes (sales tax, VAT, GST), discounts if offered, and the final total due. The tax calculation should be automatic if you’re using a proper invoicing tool. For detailed requirements by jurisdiction, see our guide on tax invoice requirements for the self-employed.
7. Payment Methods and Instructions
Tell your client exactly how to pay. Include your payment link (Stripe, PayPal), bank transfer details (account number, routing number, SWIFT/IBAN for international), or any other accepted methods. The easier you make it to pay, the faster you’ll receive funds.
8. Payment Terms and Late Fee Policy
State the due date, any early payment discounts you offer, and your late payment policy (e.g., “A 1.5% monthly fee will be applied to invoices overdue by more than 7 days”). Having this in writing protects you and motivates timely payment.
9. Notes and Additional Information
Use this section for project references, purchase order numbers, thank-you messages, or any special instructions. It’s also a good place to reference the contract or scope of work the invoice relates to.
How to Create an Invoice: Step-by-Step Process
Now that you know what goes on an invoice, here’s the actual process of creating one. We’ll use DevInvoice’s free invoice generator as the example, but the steps apply to any modern invoicing tool.
Step 1: Set Up Your Business Profile
Enter your business name, address, logo, and default payment details. This only needs to be done once — the information auto-populates on every invoice you create going forward.
Step 2: Add or Select Your Client
If this is a new client, enter their business name, contact person, email, and billing address. For returning clients, select them from your saved contacts and all their details fill in automatically.
Step 3: Generate the Invoice Number
Your invoicing tool should auto-generate the next sequential invoice number. If you’re doing it manually, follow a consistent format: INV-YYYY-NNN (e.g., INV-2026-042) or CLIENT-NNN (e.g., ACME-007).
Step 4: Set the Dates
Set today’s date as the invoice date. Set the due date based on your payment terms. For most freelancers, Net 15 is the sweet spot — short enough to create urgency, reasonable enough that clients can process it.
Step 5: Add Line Items
Add each service or product as a separate line item with description, quantity, rate, and amount. Group related items logically. For a web development project, you might have separate line items for discovery, design, development, testing, and deployment.
Step 6: Apply Taxes and Discounts
Select the applicable tax rate(s) for your jurisdiction. If you’re offering a project discount or early-payment incentive, add it as a clearly labeled line item.
Step 7: Add Payment Instructions
Include your Stripe payment link, PayPal email, or bank transfer details. If using DevInvoice with Stripe enabled, the payment link is automatically embedded — clients click and pay directly from the invoice.
Step 8: Preview and Send
Preview the PDF to verify formatting, calculations, and details. Then send it directly to your client via email. Save a copy for your records.
Types of Invoices You Should Know
Not every billing situation calls for the same type of invoice. Understanding the differences helps you use the right document at the right time. For a deeper dive, check our guide on invoices vs. estimates vs. quotes.
- Standard invoice: The most common type. Sent after work is completed to request payment for specific services or products.
- Proforma invoice: A preliminary invoice sent before work begins, outlining the expected costs. Not a formal payment request — more like a detailed estimate.
- Recurring invoice: Automatically generated and sent on a set schedule (monthly, quarterly) for retainer clients or subscription services.
- Credit note: Issued when you need to refund or reduce a previously sent invoice. References the original invoice number.
- Final invoice: The last invoice in a series of milestone payments, indicating the project is complete and the remaining balance is due.
7 Common Invoice Mistakes That Cost You Money
- Missing invoice number. Without a unique number, the client’s accounting team can’t process it. Some systems will reject invoices without one entirely.
- Vague descriptions. “Consulting services” tells the client nothing. Specify what you did, when, and at what rate.
- Wrong client details. If the billing entity or address is wrong, the invoice goes to the wrong person or gets flagged for manual review.
- No due date. Without a specific due date, the invoice has no urgency. It goes to the bottom of the pile.
- Missing payment instructions. If the client doesn’t know how to pay, they won’t. Always include clear, specific payment methods.
- Manual tax calculation errors. Even a small tax error can trigger a dispute and delay payment by weeks. Use automated tax calculation.
- Sending invoices late. The longer you wait to invoice after delivering work, the less urgently the client feels about paying. Invoice immediately upon delivery.
Best Tools for Creating Invoices in 2026
If you’re still creating invoices in Word or Google Docs, it’s time to upgrade. Here are the best approaches ranked by efficiency:
- Dedicated invoicing software (recommended): Tools like DevInvoice, Wave, and FreshBooks automate calculations, track payments, integrate with payment gateways, and save all your client data. This is the best option for anyone who invoices regularly.
- Online invoice generators: Free web-based tools that let you fill in a form and download a PDF. Good for one-off invoices, but they don’t track payment status or save client history.
- Spreadsheet templates: Excel or Google Sheets templates give you control over formatting but require manual calculations and don’t integrate with payment systems.
- Word/Docs templates: The most manual option. Fine for your very first invoice, but not sustainable for any volume of client work.
For a detailed comparison, see our guide on the best invoicing software for freelancers.
Pro Tips for Invoices That Get Paid Fast
Creating a technically correct invoice is step one. Getting it paid quickly requires a few additional strategies. For the full playbook, read our guide on how to get paid faster as a freelancer.
- Use Net 15 instead of Net 30. Shorter payment windows create urgency. Clients who have 30 days rarely pay before day 28.
- Embed a payment link. One-click payment removes every friction point between receiving the invoice and paying it.
- Set up automatic reminders. A polite reminder 3 days before the due date and 1 day after catches 90% of “I forgot” situations.
- Invoice on delivery, not at month-end. The closer the invoice is to the completed work, the faster it gets approved.
- Brand your invoices. Professional-looking invoices with your logo and consistent formatting signal that you run a real business — and real businesses get paid on time.
Frequently Asked Questions
What is the simplest way to create an invoice?
The simplest way is to use a free online invoice generator like DevInvoice. Fill in your business details, client info, and line items, then download the PDF and send it. The entire process takes under 2 minutes.
What is the difference between an invoice and a receipt?
An invoice is a request for payment sent before the client pays. A receipt is confirmation of payment sent after the client pays. You send the invoice first, and issue a receipt once payment is received.
Do I need to include my tax ID on an invoice?
In many jurisdictions, yes — especially if you’re charging sales tax, VAT, or GST. Even where it’s not legally required, including your tax ID adds professionalism and can speed up processing for corporate clients.
Can I create an invoice without a business?
Yes. Individuals can invoice as sole proprietors using their personal name and address. You don’t need an LLC or corporation to send a legally valid invoice. However, check your local regulations regarding business registration and tax obligations.
How many invoices should I send per project?
It depends on the project size. For small projects (under $2,000), a single invoice upon completion is standard. For larger projects, use milestone invoicing — bill at agreed checkpoints (e.g., 30% upfront, 40% at midpoint, 30% on delivery).
Create Your First Professional Invoice Now
You now have everything you need to create invoices that are professional, complete, and designed to get paid quickly. The key is consistency — use the same format, numbering system, and payment terms for every invoice, and let your invoicing tool handle the repetitive work.